


Sewn-in Safety Belt Comfort Guide
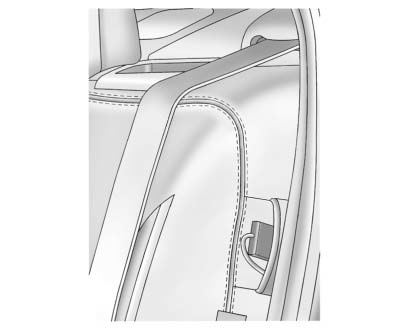
On vehicles with the sewn-in comfort guide, there is one guide for each outboard passenger position in the rear seat.
To install a comfort guide to the safety belt:
1. Remove the guide from its storage pocket on the side of the seat.
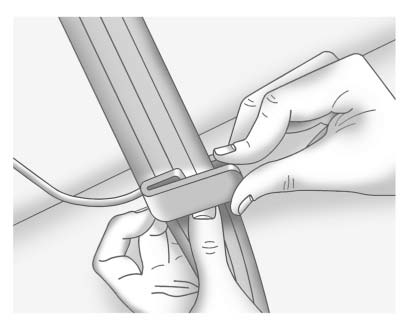
2. Place the guide over the belt, and insert the two edges of the belt into the slots of the guide.
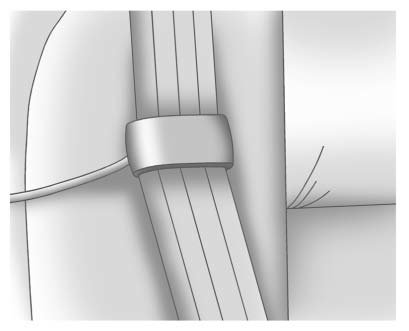
3. Be sure that the belt is not twisted and it lies flat. The elastic cord must be under the belt and the guide on top.
 WARNING
A safety belt that is not properly worn may not provide the protection needed in a crash. The person wearing the belt could be seriously injured. The shoulder belt should go over the shoulder and across the chest. These parts of the body are best able to take belt restraining forces.
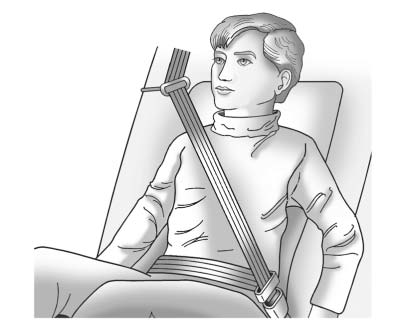
4. Buckle, position, and release the safety belt as described previously in this section. Make sure the shoulder portion of the belt is on the shoulder and not falling off of it. The belt should be close to, but not contacting, the neck.
To remove and store the comfort guide, squeeze the belt edges together so that the safety belt can be removed from the guide. Store the guide in its storage pocket on the side of the seatback.
See also:
Securing a Child Restraint Designed for the LATCH System
WARNING
If a LATCH-type child restraint is not attached to anchors, the child restraint
will not be able to protect the child correctly. In a crash, the child could be
seriously injured or kill ...
Driver Efficiency Gauge
Driver Efficiency Gauge
This gauge assists the driver in
operating the vehicle more
efficiently and will vary based on
driver input.
See Driver Efficiency Gauge for more information. ...
Top Tether Anchor
A top tether (A, C) anchors the top of the child
restraint to the vehicle. A top tether anchor is built
into the vehicle. The top tether attachment (B)
on the child restraint connects to the top ...